
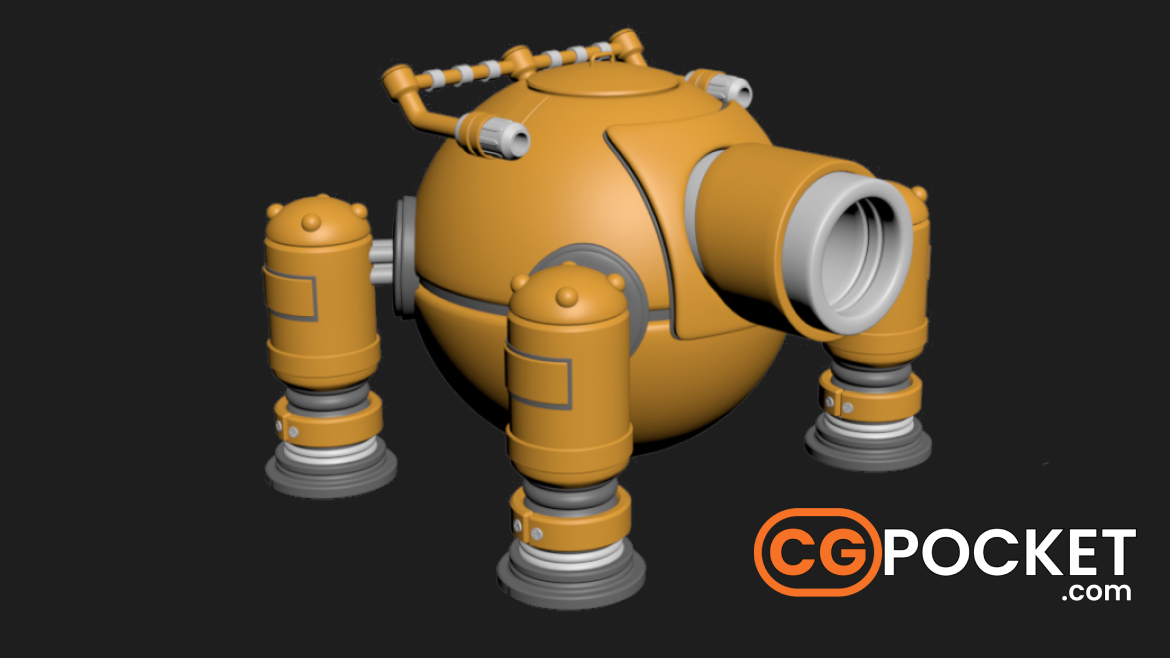

3D modeling design is becoming very popular these days especially when we talk about low poly design, so we have created for you a 3D Sci-Fi Robot model made in 3DS Max 2023. You can easily download this file and apply it in your theme. Download link below. Its shape is like a sphere with 4 mechanical legs and an open lid to allow for a pilot’s entrance.
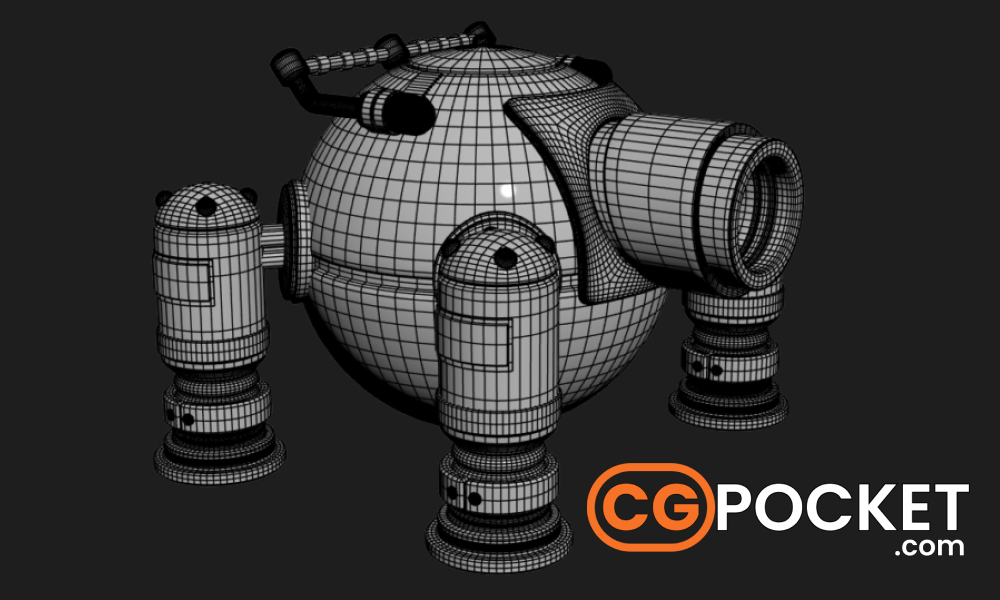
The Vision: A Futuristic, 3D Low-Poly Robot
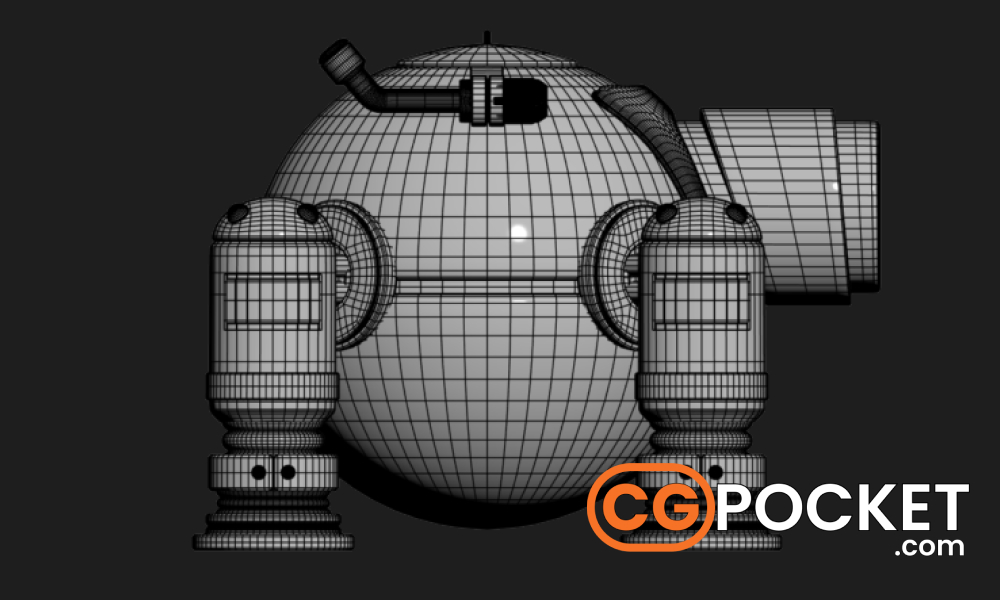
This 3D model reminds a futuristic war machine. The 3D Robot, designed for use in a sci-fi world with a barrel-shaped body.This vehicles also known as mechanical robot or Advance military vehicle. The geometry is kept simple and blocky for better optimization and performance of 3D scene even the render take not too much time because of quad topology or clean faces. This 3D robot model is perfect working with other real-time applications. like blender, unity, Unreal engine
Step-by-Step Breakdown of the Modeling Process:
1. Setting Up in 3ds Max
First, start with the correct units and grid setup. (Usually meters or centimeters are used for mechanical models). The proportions will be realistic and consistent due to the 3D model. If this 3D model merges with another scene, Different camera angles will need to be added to your 3D environment
2. Base Shape Creation: The Barrel & The Body
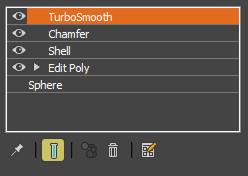
First we need a cylinder shape to create the barrel and also create sphere for body of the robot. We focus on creating a smooth, clean topology then fixing the size and radius under modifier tab. Add segments with enough geometry to achieve the desired shape. Add edit poly modifier to add details of barrel and use of modifiers such as Chamfer, Shell & Turbosmooth Surface can help smooth the object if necessary.
3. Crafting the Sci-Fi Tank Legs
In this step we need to add basic Cylinder shape for creating mechanical legs. Add more details for lower end to mechanical feets much like the treads of a tank. Add some more 3D detail components like bolts, thrusters or vents. Add symmetry modifier which is useful here for creating mirrored designs. Using a low-poly design style to maintain efficiency.
4. Creating the Rounded Top with an Open Lid
The top of the robot is round and the lid for the pilot to enter. After creating the sphere for body apply edit-poly and delete top polygons or use Boolean modifier is used to subtract a portion of the shape to create an opening. The open lid provides a unique point of interest for the viewer. The opening helps to reinforce the sci-fi theme.
5. Final Modifications and Refinements
Once the basic shapes are in place, it’s time to refine the model. Using Edge Loops and the Polygon Modeling Toolset in 3ds Max, we can adjust the flow of polygons and smooth out any rough edges while maintaining the low-poly aesthetic. The Chamfer tool is especially useful for adding subtle rounded edges to the hard corners without adding unnecessary complexity. Artist can easily apply UVW Mapping for texturing, we ensure the model remains versatile, easy to modify, and ready for texturing or animation.
Conclusion
Creating a low-poly 3D robot in 3ds Max 2023 is an exciting and rewarding process that combines creativity with technical skill. With its futuristic sci-fi design.The use of 3ds Max’s modifiers, stack-able workflow, and optimization tools ensures that the 3D models remains not only visually appealing but also practical for use in real-time applications like games or animations. This model represents the perfect balance between style and functionality, showcasing the power of low-poly design in modern 3D modeling.
Leave a Reply